Photographing Sea Mist and Coastal Fog: A Practical Checklist
Sea mist is not a single subject. It is a mood, a filter, and a constantly shifting collaborator. One minute the coast is wrapped in soft gray silence; the next, a breath of wind opens a window to the horizon and the whole scene rearranges itself. Photographing coastal fog rewards patience, preparation, and restraint. The checklist below will help you bring home images that feel atmospheric rather than flat, mysterious rather than merely gray.
Why Coastal Fog Is a Gift, Not a Problem
Many photographers pack up when the forecast calls for low cloud and drizzle. That is often a mistake. Fog simplifies a chaotic coastline. It hides distracting background details, separates layers, and turns ordinary objects into silhouettes. A plain fishing boat becomes a ghost. A row of pilings becomes a rhythm. A lighthouse becomes a story.
Fog also changes with distance. Objects close to you retain texture and contrast. Objects farther away fade into pale veils. That natural separation is difficult to fake in editing. If you learn to work with it, sea mist can give your coastal photography a sense of depth that clear blue skies rarely provide.
Before You Leave: Scout, Check, and Pack
Weather and Tide Checks
Start with the marine forecast, not just the general weather app. Look at visibility, wind speed, wind direction, dew point, and tide times. A falling tide can expose rocks and reflections that were underwater an hour earlier. An incoming tide can cut off your return route. Wind is the great fog editor: a gentle onshore breeze may push mist into beautiful layers, while a strong gust can clear the coast in minutes.
- Visibility: Aim for mist that reveals midground detail. Dense fog can be beautiful, but it may erase your subject entirely.
- Tide: Know when low and high tide occur, and give yourself a generous margin.
- Wind: Light wind creates movement and shifting veils. Strong wind often means hurry.
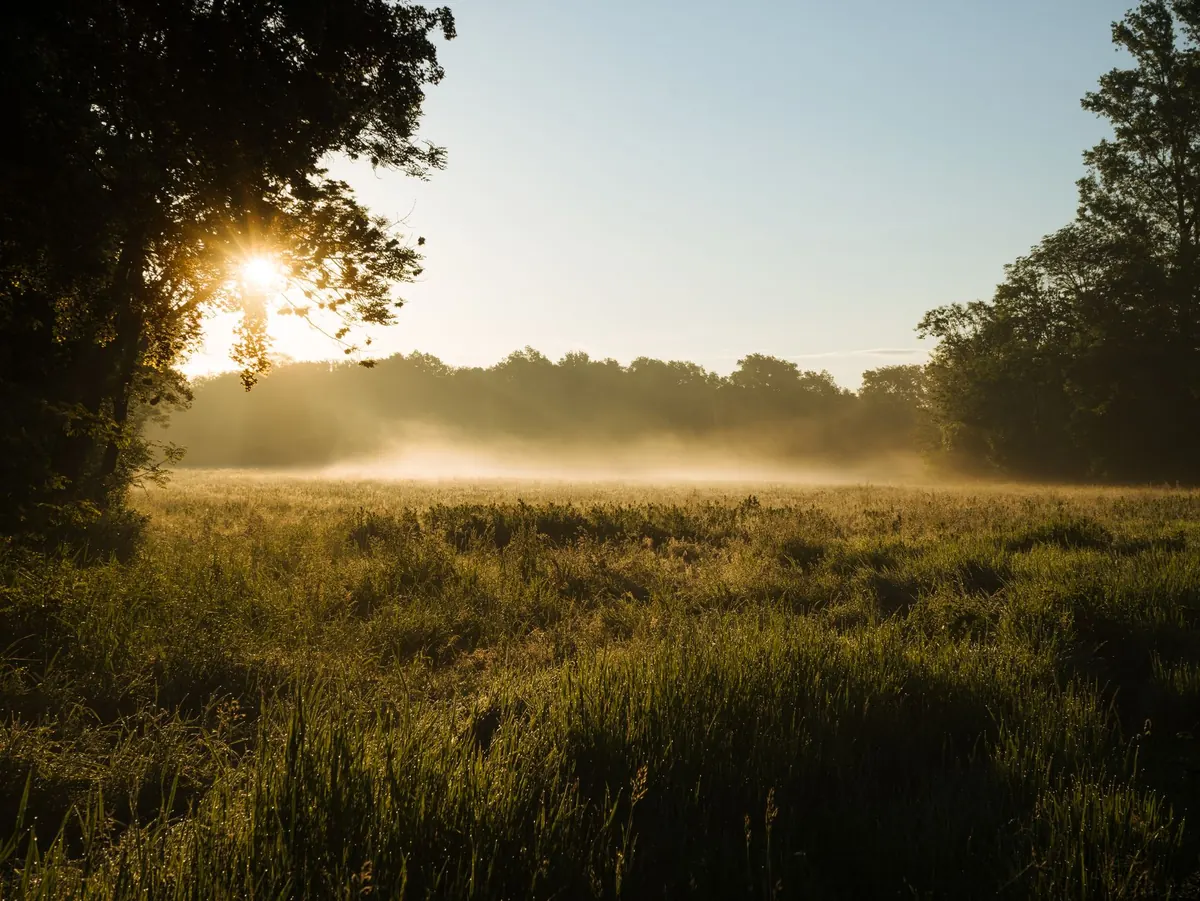
- Sun angle: Backlight at dawn or dusk can turn fog into glowing sheets and visible beams.
Gear Checklist
- Camera and lenses: A standard zoom and a short telephoto are ideal. Telephoto compression stacks fog layers beautifully.
- Tripod: Essential for low light, long exposures, and precise composition.
- Lens cloths and microfiber towels: Sea mist leaves fine moisture and salt on front elements.
- Rain cover or plastic bag: Fog is wet. Protect the camera even when it is not raining.
- ND and polarizing filters: An ND filter allows longer exposures that smooth water and drifting mist. Use a polarizer carefully; it can deepen skies but may also reduce the soft glow.
- Headlamp, compass, and phone: Fog disorients. A compass and a downloaded offline map are not overkill.
Composition in Low Contrast
Use Layers and Negative Space
In clear conditions, photographers often hunt for a grand vista. In fog, think in layers. Foreground rocks, midground water, distant headland, and pale sky can create a stack of tones that pulls the eye inward. Negative space is not empty; it is the mist itself. Let it breathe.
Try placing your main subject off-center and allowing a large area of soft gray to balance it. A lone figure on a beach, a pier disappearing into white, or a single buoy floating in a silver sea can be more powerful than a crowded composition.
Find a Hero Subject
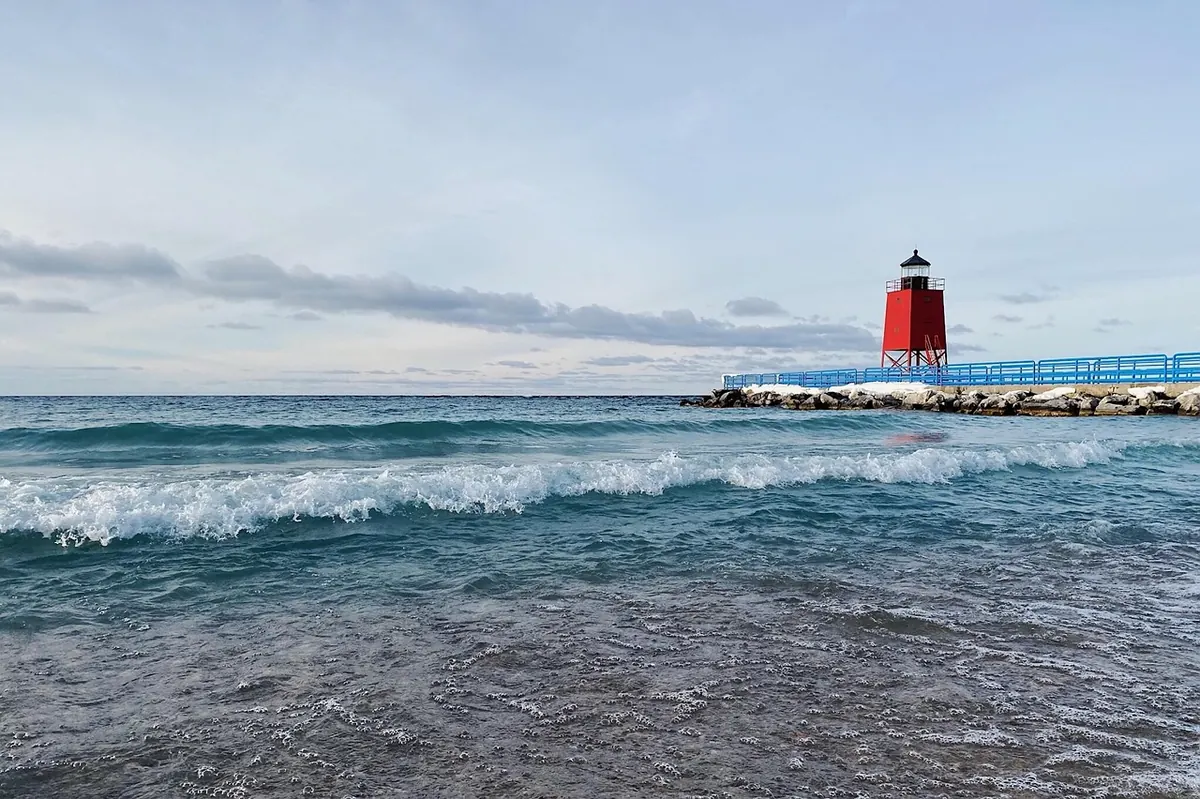
Fog needs an anchor. Without one, the image may feel like a gray rectangle. Look for shapes with strong outlines: a lighthouse, a craggy rock, a fisherman, a dog running through surf, a bicycle leaning against a railing, or a line of gulls. Silhouettes work especially well because they provide contrast without requiring detail.
Field note: If you can see the horizon clearly, the fog is already leaving. Shoot now, not after you finish adjusting your tripod.
Exposure and Metering
Protect Highlights, Recover Shadows
Your camera meter wants to make fog middle gray. That usually means it will underexpose the scene, turning luminous mist into dull concrete. Check your histogram and push exposure to the right without clipping the brightest fog. In RAW, you can often recover shadow detail, but blown white mist is gone forever.
Start with an exposure compensation of plus one-third to plus one stop. Bracket if the light is changing quickly. A tripod and a two-second timer or remote release will keep your frames aligned for later blending if needed.
White Balance and Color
Fog has no fixed color. It can be cool blue before sunrise, peach at dawn, silver at midday, and bruised purple at dusk. Shoot RAW and decide later. For a calm, ethereal mood, a slightly cooler white balance often works. For a warm, nostalgic feeling, push toward amber and gold.
Focus and Sharpness in Fog
Autofocus can hunt when contrast is low. Switch to single-point autofocus or manual focus, then magnify live view to confirm critical sharpness on a contrasty edge. If your subject is a silhouette, focus on its outline. If you are photographing a scene with deep layers, consider hyperfocal distance, but do not sacrifice your main subject for distant detail that fog will soften anyway.
Use a lens hood to keep stray moisture off the front element. Check your lens frequently. A single smear can ruin a whole series, especially when shooting toward the light.
Practical Field Checklist
- Arrive early. Fog changes fast. Give yourself time to walk, watch, and wait.
- Expose for the mist. Keep highlights bright but not clipped.
- Simplify. Remove or hide distracting elements. Move your feet before you change lenses.
- Shoot vertical and horizontal. Fog can make a vertical frame feel intimate and a horizontal frame feel cinematic.
- Look for backlight. When the sun breaks through, meter for the glow and let shadows fall dark.
- Try long exposures. A few seconds can turn moving mist into a soft wash and water into glass.
- Watch the edges. Check for bright distractions, stray branches, or tourists entering the frame.
- Clean and dry. Wipe your lens, dry your gear, and remove memory cards only when you are back in a dry space.
Editing Sea Mist: Restraint Wins
Fog is delicate. Heavy dehazing, clarity, and contrast can destroy the very softness that made the scene special. Start with global exposure and white balance. Lift shadows gently if needed, but keep the mist luminous. Use local adjustments to add a little contrast to your hero subject, not the whole frame. Avoid over-sharpening, which amplifies noise in smooth gray areas.
If you want a more painterly look, reduce clarity slightly and add a subtle glow. If you want drama, deepen the blacks and cool the shadows. Either way, compare your edit to the original mood. If the fog no longer feels like fog, you have gone too far.
Safety and Etiquette by the Sea
Coastal fog can be beautiful and dangerous. Wet rocks are slippery. Tides can move faster than you expect. Visibility can drop to a few yards. Tell someone where you are going and when you expect to return. Carry a headlamp even in daylight. Stay back from waves and cliffs. Respect nesting birds, seals, and other wildlife. Do not block paths or private property. Leave the coast as quiet as you found it.
Final Thoughts
Photographing sea mist is less about chasing a perfect forecast and more about learning to see in softness. Embrace low contrast. Hunt for layers, silhouettes, and quiet moments. Check your histogram, clean your lens, and slow down. The coast will keep changing, and that is exactly the point. With a practical checklist and a little patience, you can turn a gray day into a gallery of atmosphere.
Photo: WOKANDAPIX / Pixabay