Coastal landscape photography is seductive. The light shifts minute by minute, the sea never repeats itself, and a familiar beach can look entirely new after a storm. That variety is also what trips people up. A scene that feels calm can turn dangerous; a sky that looks glorious can blow out; a wide view can end up with nothing for the eye to rest on. Most coastal mistakes come from rushing the obvious things: checking the tide, watching the histogram, and choosing a foreground before setting up the tripod. Get those right and your hit rate improves at once.
Read the Tide, Then Read It Again
Tides are the first thing to check, not the last. A beach that is broad at low water can shrink to a narrow strip in an hour. Rocks that were dry when you arrived may be surrounded by the time you pack up. Use a tide table for the exact location, not the nearest town, because estuaries, headlands and offshore islands change the timing and height. Wind and swell matter too: a strong onshore breeze or a big Atlantic swell can push water higher and faster up the sand.
- Note the time and height of high water, and work back from it. Plan to leave well before the sea reaches your chosen spot.
- Identify a dry escape route before you commit. A path that was clear on the way out can disappear behind a rising channel.
- Watch the sea, not just the viewfinder. Sets of larger waves can arrive without warning and run much further up the beach than the previous dozen.
- Tell someone where you are going and when you expect to be back, especially in winter or at dusk.
If the tide is coming in, the sea is not being dramatic; it is doing exactly what the table said it would.
Wet rocks, slippery seaweed and loose shingle are hazards in their own right. Move slowly, keep your hands free, and do not stand below crumbling cliffs. No photograph is worth a soaking or a rescue.
Protect the Highlights Without Losing the Mood
Coastal scenes have huge contrast. Bright sky, white foam and wet sand reflect far more light than dark rocks or shadowed cliffs. Let the camera choose and it will often expose for the midtones, turning the sky into a white patch and the foam into a featureless blob. The histogram is your friend here, not the rear screen.
A quick exposure routine
- Shoot raw and turn on highlight warnings.
- Compose, then check the histogram. Adjust shutter speed until the brightest important detail—cloud texture, foam pattern, wet sand—sits just below clipping.
- Use a graduated neutral density filter or a polarising filter to balance sky and sea. A polariser also cuts glare on wet rocks and reveals colour beneath the surface.
- Bracket if the range is too great. Two or three frames, blended later, often look more natural than one heavily recovered file.
- Recheck after every few waves. The exposure that worked for a flat trough will not suit a breaking crest.
Do not underexpose the whole frame just to save one small patch of cloud. Shadows that look like rich, moody tones on the back of the camera can turn into grey mud on a proper screen, and lifting them hard in editing brings noise, flat colour and a telltale halo along every horizon. Let dark areas be dark. A cliff read as a clean silhouette against a bright sea is often stronger than a cliff dragged up two stops to reveal detail nobody needed.
If the sky is genuinely blown and no filter will save it, consider removing it altogether. Plenty of good coastal frames are almost all water, rock and reflection, with a sliver of horizon at the very top.
Choose a Foreground Before You Choose a View
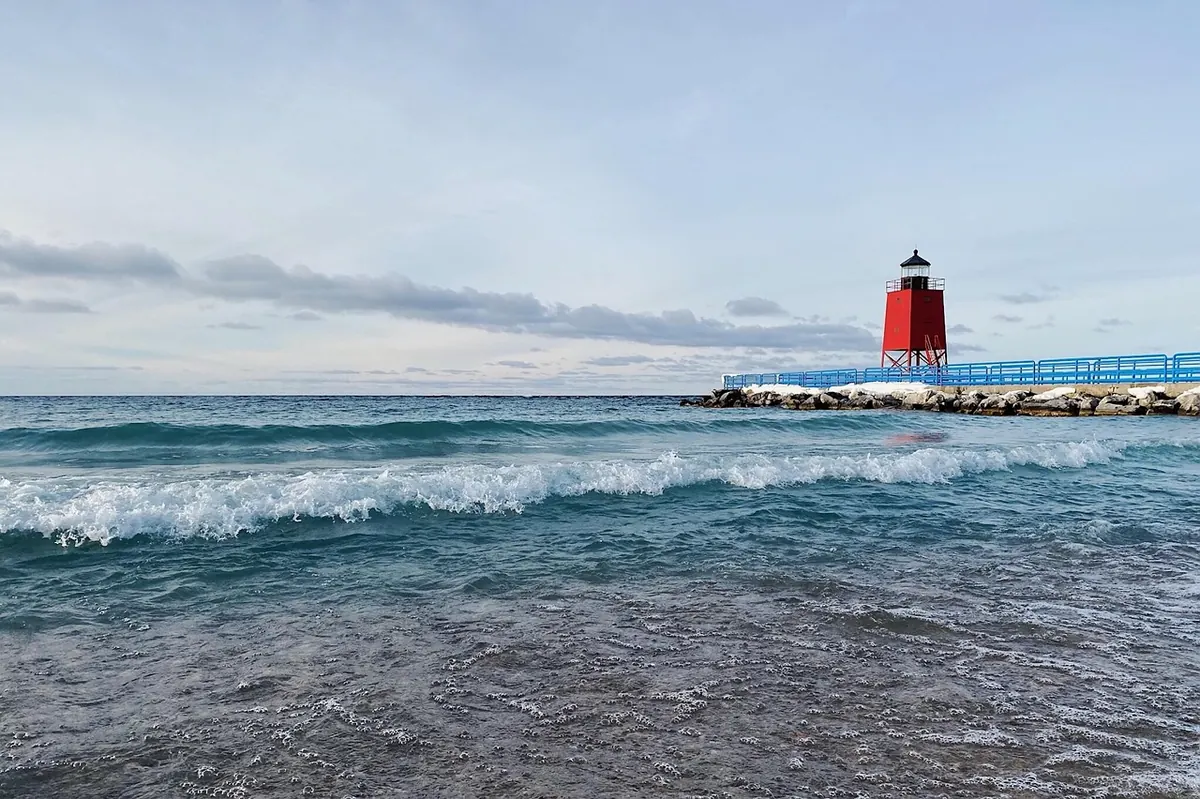
Most weak coastal photographs fail in the bottom third of the frame. A beautiful bay shot from the car park has nowhere for the eye to land, so it floats. Get low, step forward, and find something specific: a single rock, a tide pool, a curve of patterned sand, a line of retreating foam. Then let that object lead the viewer into the distance.
- Wet sand and shallow water make superb foregrounds because they mirror the sky and carry colour into the frame.
- One rock reads better than a jumble of rocks. A single clear shape is easier for the eye to hold.
- Look for lines—a channel of water, a ridge of shingle, a breakwater—that point toward your main subject rather than out of the frame.
- Spread the tripod legs wide and get the camera down to knee height or lower. Sea-level viewpoints rarely disappoint.
- Sweep the edges before you fire. Stray footprints, a lens cap, another photographer's tripod or your own bag strap can ruin an otherwise excellent shot.
Shutter speed changes what the sea says
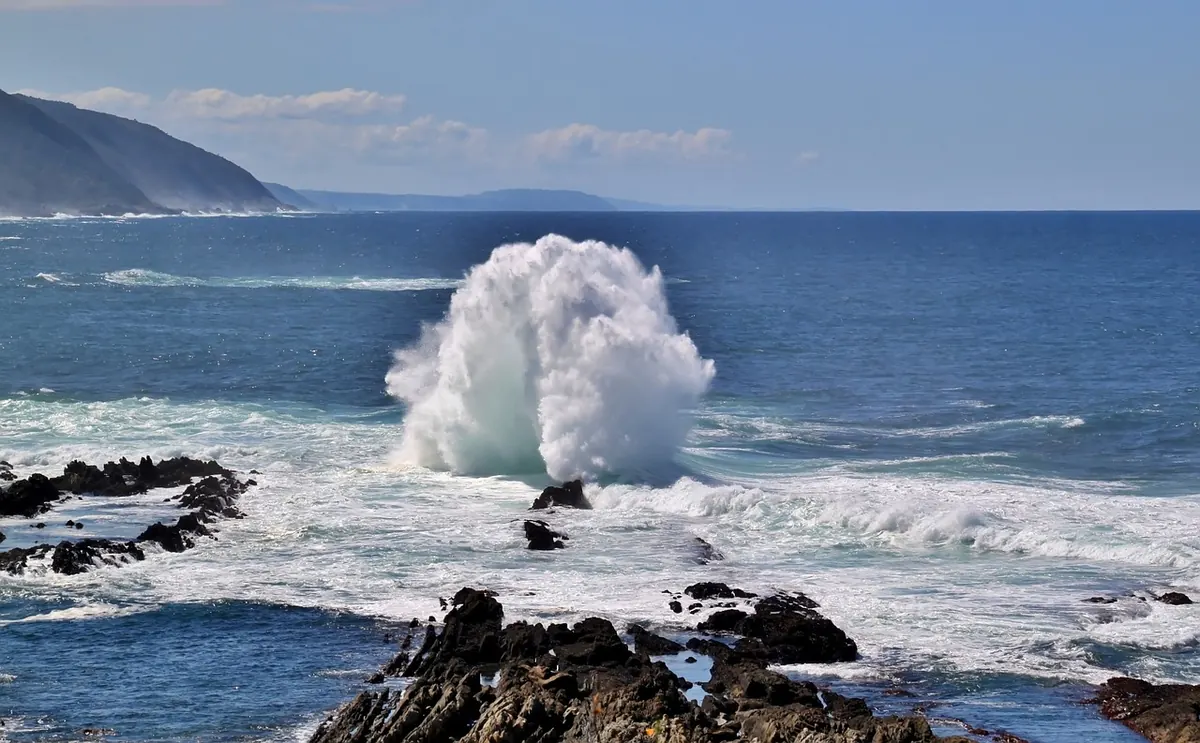
A second or two smooths water into mist and turns moving foam into soft streaks. A five-hundredth of a second freezes it into glass shards and suspended droplets. Neither is more correct than the other, but you should decide which one you want before you set the dial, then shoot a few variations to see which suits the scene. Long exposures need a stable tripod, a neutral density filter to slow things down in daylight, and a break from the wind. If your long exposures look soft, wind shake is almost always the culprit, so hang your bag on the tripod hook and use a remote release or the self-timer.
Shoot the Weather, Not Just the Sunset
Everyone arrives for golden hour, and everyone leaves with the same photograph. The more interesting frames often come either side of it: flat grey cloud that turns the sea silvery, a passing squall with a bright band of light behind it, fog rolling over a headland, a rainbow after rain. Harsh midday light is not useless either. It gives you turquoise shallows, hard shadows and graphic patterns in the sand, provided you look for detail rather than panorama.
Stay longer than feels reasonable. The five minutes after you decide to pack up are frequently the best light of the day, and the beach will be emptier for them.
Look After Your Gear and Yourself
Salt is relentless, and it does not care how much the lens cost. A few habits keep equipment working and fingers functioning.
- Wipe the front element with a clean microfibre, and rinse filters in fresh water at home. Salt crystals scratch glass.
- Keep a dry cloth in a sealed bag. A damp one smears spray around the lens instead of removing it.
- Change lenses out of the wind, or not at all. Sand inside a camera body is an expensive mistake.
- Rinse and dry tripod legs after every trip, especially the twist locks. Sand grinds the threads and salt seizes them.
- Keep spare batteries in an inside pocket. Cold drains them quickly, and a dead battery at the best light is a hard lesson.
None of this is complicated, and none of it is technical. Check the tide properly, watch the histogram, find a foreground worth kneeling in the water for, and stay out longer than you planned. The coast rewards patience far more than it rewards gear, and the photographers who come home with the strongest frames are usually the ones who simply spent more time standing on the sand.
Photo: cocoparisienne / Pixabay