Woodland is the most forgiving place to photograph and the hardest place to photograph well. There is always something in front of the lens, which means there is rarely a clear subject. The light shifts every few metres as you walk under the canopy. And because trees are tall, most people photograph them from the same standing position they use for everything else.
None of those problems are unusual, and none are difficult to solve once you know what you are looking at. The mistakes below account for most disappointing forest photographs, and each comes with a fix you can try on your next walk.
Composing the Wood Instead of a Photograph
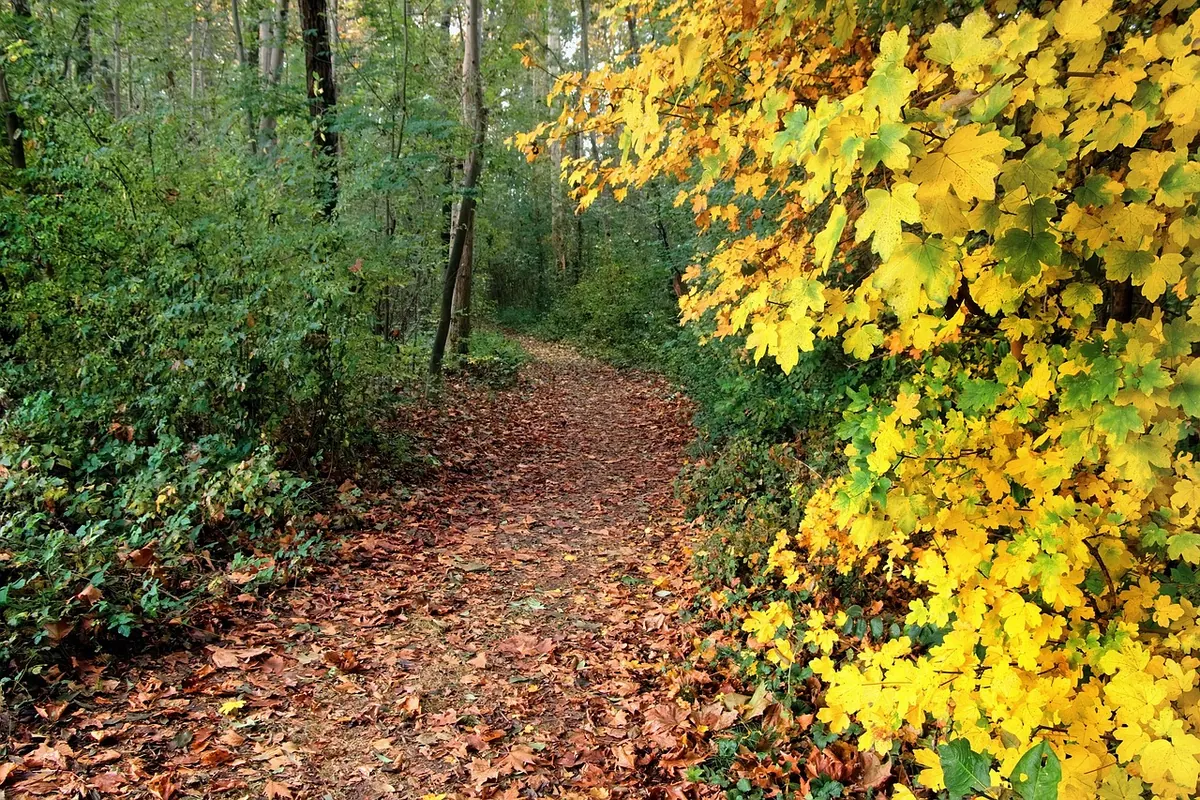
A wall of trunks and branches is not a composition. It is a record of a place that looked better in person than it does on the back of the camera. The fix is to choose one thing and build the frame around it: a single birch against darker pines, a path curving out of sight, a fallen log, a patch of ferns catching a shaft of light.
A short telephoto helps enormously here. Something around 70–200mm compresses the layers of trunks into a tight rhythm and cuts out the messy edges a wide lens drags in. At 24mm, expect to spend far longer tidying the frame, because everything within a few metres of the camera ends up in the picture.
Then check the edges before you press the shutter. A bright gap of sky in one corner will pull the eye straight out of the image, and a half-cropped branch at the top looks like an accident. Two steps sideways or a small change of height usually solves it.
Metering for the Shadows in Dappled Light
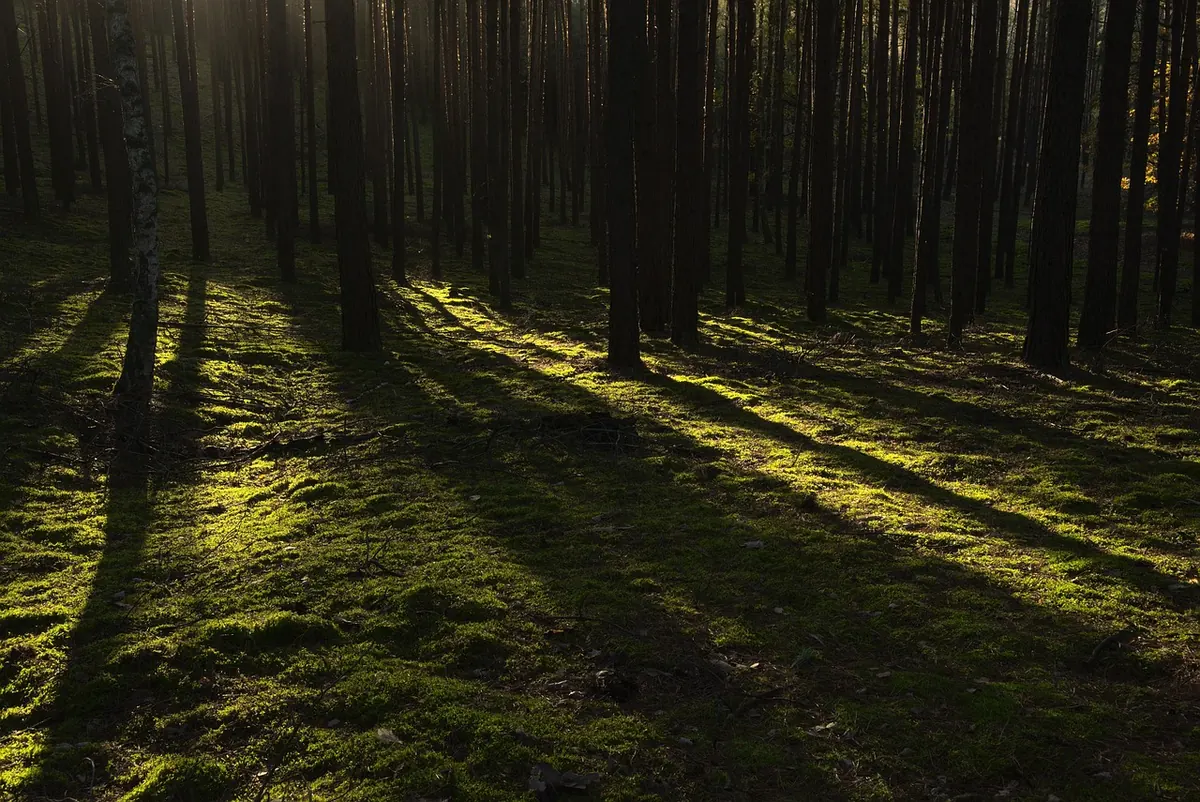
Dappled light is the classic woodland trap. Meter for the shade and the sunlit leaves burn into white patches that cannot be recovered. Meter for the sun and the shadows collapse into mud.
Expose for the highlights. Switch on the histogram, take a test frame, and adjust until the brightest leaves sit just inside the right-hand edge without clipping. Shadow detail in a raw file can be lifted a long way; blown highlights are gone for good.
- Use a polarising filter to cut glare from waxy leaves. It deepens colour and costs roughly one to two stops of light.
- Set a fixed white balance rather than auto, so green casts stay consistent across a sequence of frames.
- Bracket only when the contrast is genuinely extreme, and merge later rather than fighting it in a single file.
Forgetting to Look at the Light
Overcast days are the woodland default in Britain, and they are not the enemy — they are simply a different tool. Flat light shows shape, texture and detail beautifully, and it keeps colour even from foreground to background. What it does not do is create depth.
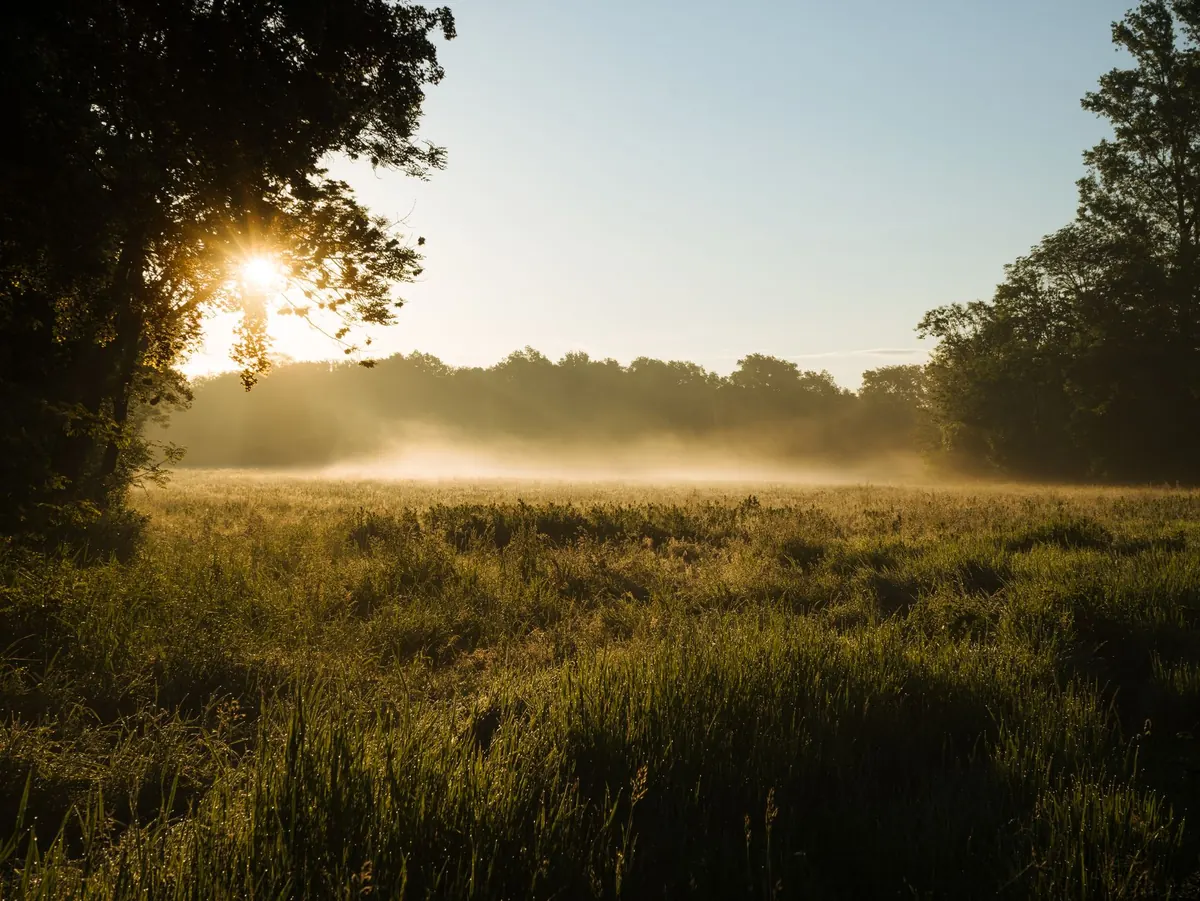
Directional light does. Side light rakes across bark and reveals every ridge. Backlight sets leaves glowing and turns mist into something worth standing in the cold for. Before you set up, work out where the sun is and what it is doing to the scene in front of you. If the answer is nothing, wait, move, or photograph details instead of the view.
When the light is flat, look for shape, texture and detail. When it is directional, look for mood.
Shoot early, shoot late, and go out in the half hour after rain, when wet bark turns dark and saturated and the air still holds mist.
Shooting Everything from Standing Height
Most woodland subjects live below knee level. Fungi, moss, ferns, leaf litter and the patterns in tree roots are all invisible from 1.6 metres up. Lowering the tripod — sometimes right down to ground level — turns a dull picture into a strong one more reliably than any new lens.
It also solves the clutter problem. From low down, the background becomes a soft bank of green rather than a tangle of competing branches. Take a kneeling mat and a cloth for the lens; wet ground and a muddy forest floor are part of the deal.
Ignoring Wind and Shutter Speed
Trees and leaves move far more than most photographers expect, and the movement rarely shows clearly on the camera screen.
- Handheld, treat 1/125 sec as your floor for still foliage and go faster in any breeze.
- On a tripod, a two-second exposure in a gust gives you a smear of leaves over an otherwise sharp trunk.
- Watch the branches and shoot between gusts — or go the other way and use a deliberately long exposure so the blur becomes the subject.
Editing Greens Until They Glow
The clarity and saturation sliders are tempting in woodland, because the scene feels so busy that it seems to need a push. Overdone, they produce grey haloes around thin branches, blotchy shadows, and greens that look like food colouring. Radioactive green is the clearest sign that a forest photograph has been taken too far.
Work locally instead. Lift the shadows with a graduated or brush adjustment rather than the global slider. Keep greens close to what you saw, and if they are still too vivid, desaturate them slightly and pull the hue towards yellow. Ease off the vignette as well — a busy frame does not need dark corners piled on top of it.
A Simple Woodland Routine
These habits prevent most of the mistakes above, and each takes less than a minute.
- Look up, look down, then look ahead. Decide what the picture is actually of.
- Check the histogram before the composition. Exposure first, framing second.
- Change your height before you change your lens.
- Scan the frame edges for bright gaps and half-cropped branches.
- Work out where the light is coming from, and what it is doing.
- Wait for the wind to drop, then use a cable release or the timer.
Forest photography rewards patience more than equipment. Stay on the paths, keep off moss and regrowth, and give yourself permission to come away with three good frames rather than ninety average ones. The wood will still be there next week, and it will look different.
Photo: AdamMalycha / Pixabay